Daily pre-trip inspections can mean increased uptime and better vehicle health awareness for fleet managers – but only if they’re completed correctly. To ensure consistency in your fleet’s inspection process, you’ll want to nail down exactly what you need to check for and create a process that makes inspection as simple as possible for your operators.

When it comes to minimizing vehicle downtime, upholding a regular preventive maintenance (PM) schedule is always going to be the preferred method. But even the best PM schedule can’t account for the inevitable roadside events that can mess with your maintenance budgeting.
While unplanned repairs are bound to occur at some point, there are some simple measures you can put in place to mitigate as many potential problems as possible before they have a chance to impact your operations. One of those measures is a vehicle inspection checklist – a thorough daily evaluation of mobile assets, normally conducted by the asset’s operator, that ensures the vehicle or equipment is in proper working condition before a day’s work begins.
Pre-trip inspections, conducted with a well-made vehicle inspection checklist, can be a great tool for helping fleet managers identify issues quickly and schedule them for maintenance without overburdening technicians or leaving drivers stranded with a roadside breakdown. For many fleets, pre-trip inspections are a piece of driver vehicle inspection reports (DVIRs) that are required for annual roadchecks and regular auditing, but when they’re done well and consistently, they can offer you more insight into the overall health of your fleet and the efficiency of your maintenance processes.
In order to make the most of your pre-trip inspections, you’ll want to make sure that your drivers can easily and efficiently use it, and that you’ve identified specific criteria for the vehicle inspection checklist you give your drivers to use.
What to Look for in an Inspection Checklist
When most people think of a "checklist," they see a list on a steno pad. A lot of fleet managers operate in a similar fashion, using paper checklists and forms that drivers can struggle to keep up with, and don’t always secure enough information about the vehicle’s status to be of any real use.
Fleet technologies have been introduced over the past couple decades that can take fleet data way further than paper ever could, and that applies to inspections just as much as telematics and GPS. Many fleets choose to use fleet management software like Fleetio to manage their inspection processes with electronic DVIRs, as most come enabled with customizable forms that can be easily accessed from a mobile device to encourage ease of use.
If you’re a bit intimidated by a full-scale software solution, but you’re looking for an easy way to start and still leverage a digital format, an inspection form that links to a spreadsheet to store responses can be a better approach. Even though you won’t have the same power of automation and quick collaboration as you would with a fleet management software, it’s still mobile friendly and ensures you can quickly access the information as it comes in.
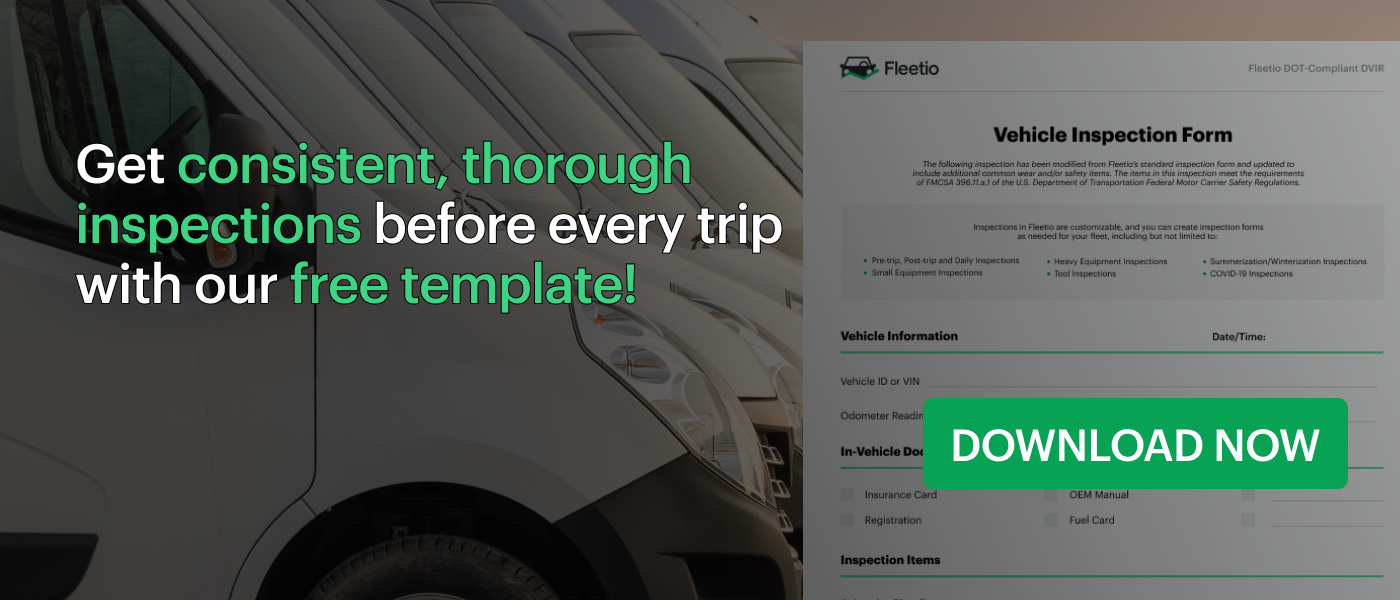
We have a vehicle inspection checklist template that you can download for free and modify to fit your fleet’s needs. Give it a try as you build out your inspection criteria with our outline below!
What to Include in an Fleet Inspection Checklist
While this list and its use cases are not exhaustive, it should give you a good idea of where to start and what you might add to fit your fleet.
General Information
-
Vehicle ID
-
Odometer Reading - This should be taken at the beginning of each day to understand mileage and utilization
-
Driver Information - Name, employee number, and any other information that’s pertinent to your business
Interior
-
Cleanliness - Drivers should be sure to keep their cabin clean to ensure the condition of the interior and provide a comfortable driving environment, especially if drivers swap vehicles
-
Horn - Horn sounds should be clear and immediate
-
Brakes - Brakes should be effortlessly operational both in the cabin when the driver presses the brake pedal as well as externally, to ensure lights are in working order.
-
Seatbelts - Seatbelts should be fitted when worn and move smoothly when pulled; latches should not catch in the buckle and should release immediately when the button is pressed
-
Fuel Level - Fuel levels should not be bottomed out and should be consistent with what was reported at the end of the previous day; otherwise, it could indicate a leak or a gauge malfunction
-
Documentation - This includes insurance, fuel cards, certifications and any other information that needs to remain in the cab in the event of emergency or roadcheck
-
Emergency equipment - Think about equipment that is both specific to the vehicle (jumper cables, spare tire, jack, lug wrench, flares, reflective triangles, coolant, motor oil) as well as driver safety (fire extinguisher, first aid kit, pocket knife, toolkit, flashlight, chargers, water)
Exterior
-
Lights - Ensure all lights are working properly with controls inside the car
-
Tires - Look for signs of excess wear, protruding objects, holes or tears
-
Body - Assess cosmetic conditions, like paint and decals, as well as structure, like dents, scratches or other defects
Mechanical
-
Oil Level - If the oil level is low ahead of its anticipated maintenance timeline, an oil change should be scheduled and the engine inspected
-
Battery - Mounting, terminals and cables should be checked before each ride, and signs of corrosion or any voltage/connection issues should be reported
-
Engine - Check all hoses and tubing, make sure fluid reservoirs are not leaking, and document any signs of wear
-
DTC codes - These should be checked daily and reported to monitor for any changes
-
Sounds - Drivers should stay aware of their vehicle’s normal condition and note when something has changed in the way it sounds, as this could indicate an issue under the hood.
-
Leaks - Any pooling under the vehicle that occurred while it was parked overnight should be investigated
The Importance of Driver Buy-In
If you’re implementing a brand-new solution for fleet inspections, it’s important to get feedback from your drivers – after all, they’ll be the primary users of whatever you decide to implement. The more user-friendly the form is for the drivers, the more likely they are to complete it consistently, and consistency is key if you’re looking for usable vehicle data and actionable commentary that can indicate the need for a repair.
Once you’ve settled on a process with your drivers, be sure to clearly explain the inspection criteria and elaborate on what they need to look for. Walk them through a guided inspection, focusing on the necessary details that will give you the information you need to keep the vehicles up and running while also being cognizant of time. The best inspection processes are thorough without unnecessarily sacrificing a driver’s time.
Open communication with your drivers and support during implementation will lead to better adoption of the new process, and strong adoption is the first step to your long-term goals of less downtime, more efficient maintenance and better asset lifespan.
Want to get better insights into your fleet and cut out repetitive tasks? When you’re ready to make the jump from paper inspections to software, Fleetio makes it easy to import your spreadsheet data so that you’re not having to start from scratch.
Try out Fleetio with a 14-day free trial, no credit card or commitment necessary!


